Minion Cake Box
Hello All,
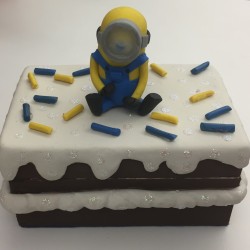
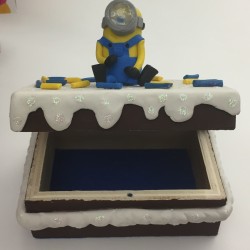
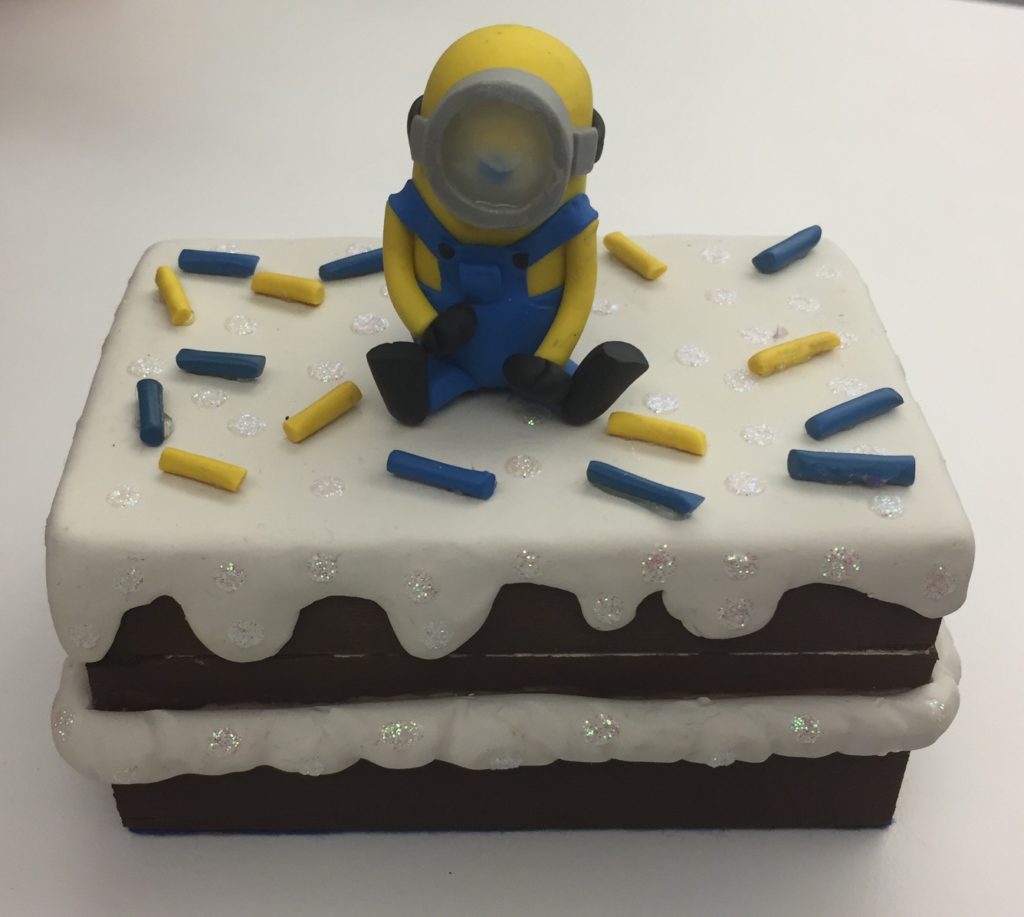
It was my husband aunts birthday so I made her some minion items. I made three different projects. One is this minion on a cake box and two earrings. I don’t have the photos ready for the earrings so I will showing just the box.
The supplies I used:
- Craft Smart – Espresso Paint
- Sculpey – White
- Craft Smart – Yellow, Black, Blue
- Scribbles – 3D Fabric Paint In Glitter Silver
- Sculpey – Bake & Bond
- Dollar Tree – Rectangle Wooden Box
- Fine Grit Sandpaper
- Small Screwdriver
- Razor or Knife
- Rubbing Alcohol or nail polish remover
- Q-Tips or baby whips
- Clay Tools
With the wooden box I first sandpaper some of the areas. I didn’t want to go too far in my sanding since it’s such a thin box. I took off the hinges then I painted it with the espresso paint. It’s super important to take off those hinges in order to get an even coat. After painting and letting it dry I did a second coat.
Then I moved on to make the cake part. I looked at a lot of Pinterest and Google photos of Minion cakes. I settled on a combination two cakes and started kneading my clay. I used El Arte de PAU to properly make the minion which I am posting below:
Then I rolled out some white clay and layered it on top of the box. I then took my razor and started cutting away at my clay. Making up and down waves giving it cake like appearance. For the second layer I just did a roll of white clay then added bake and bond on the box and attached the clay. Using my clay tools moved the clay in to lumps giving it a creamy look.
This is where the rubbing alcohol, baby whips, and Q-tips come in. I had to really be heavy handed since dirt wanted to stick to the clay. I tried super hard but I could see some areas just didn’t work. But I bushed on baked everything.
I then grabbed my puff paint and went to town.
