Christmas
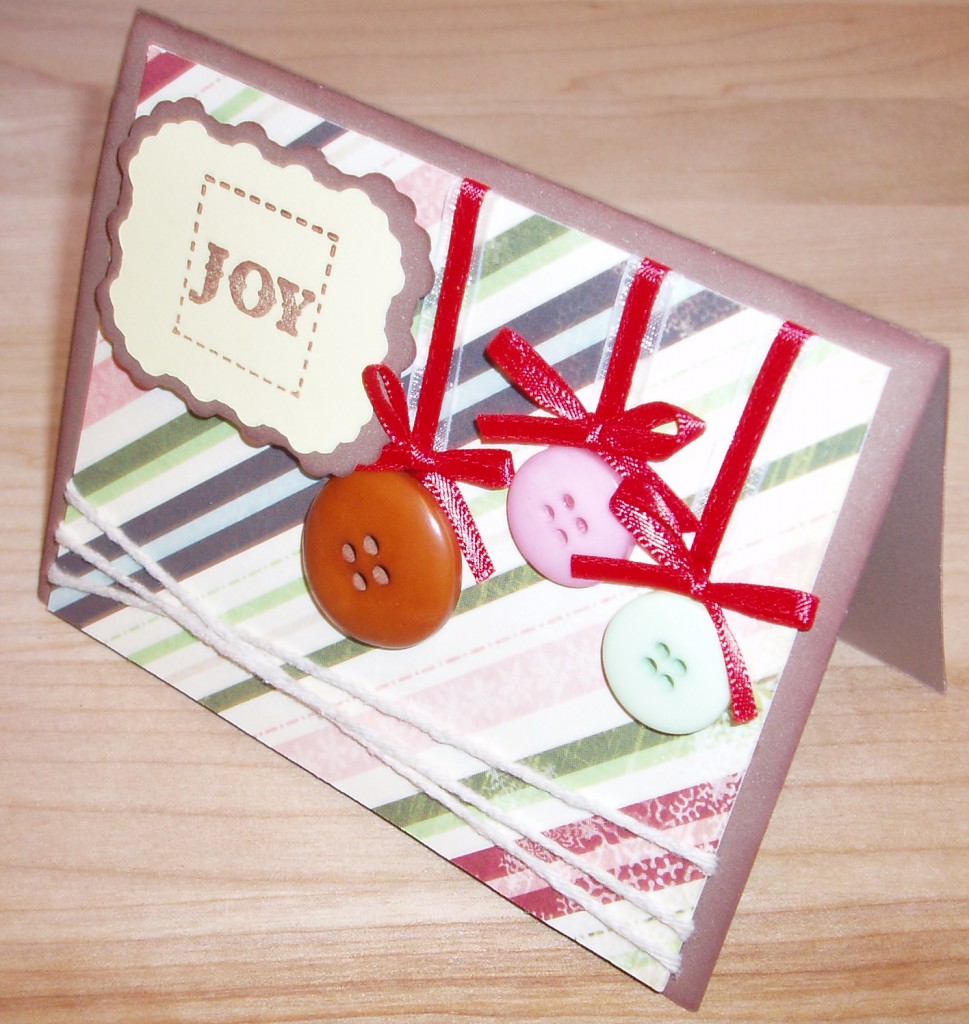
Joy Ornament Card
Hello All,
If you’re planning to make your own ornaments this year and giving them out as gifts this card is right up your Christmas ally.
Materials:
- Brown, Pink, Blue buttons
- Brown Ink
- Stamp – Joy
- Pop dots
- Tape
- Tacky Glue
- E-6000
- Pencil
- Red ¼ Ribbon
- Sheer White ½ Ribbon
- Cream Cardstock
- Brown/Chocolate Cardstock
- Twine/Bakers Twine
- Pattern Paper
- Tag Punch or Die Cutting Machine
Creating The Card:
- Cut your card at 7 ¼ x 4 3/4, score it in half giving you 3 11/16 inches. If you’re brown card stock is showing white edges ink around it with brown ink.
- Cut your pattern paper at 4 ½, position your buttons on your pattern paper. Using your pencil make small notation where your button will be placed.
- Take your red and sheer ribbon and measure out about 2 ½ to 3 inches and cut 3 strip of each ribbon. Tape your ribbon over lapping one another on the back of your pattern paper coordinating to where you will be placing your buttons. Take a small bead of Tacky glue making a line right to where your pencil marks. Hold down your ribbon one at a time and white a few moments to let the glue dry.
- Take your E-6000 and put a good portion of glue on the back of each button and place them over your ribbon and pencil marks. Give a few moments for your glue to dry.
- While you’re waiting for your glue to dry make three small red bows using your Red ¼ ribbon. Put a small amount of Tacky Glue over each button making them look like ornaments.
- Grab your twine, tape one end to the bottom of your card start wrapping it around abut tree times. Once done tape the last end to the back of the card.
- Make a 2 inch tag using a tag punch or using a die cutting Machine on brown card stock. Cut a 1 ¾ out of cream color cardstock.
- Using any Joy stamp, stamp it using brown ink in the center of your cream color cardstock. Adhere the 1 ¾ tag to the 2 inch tag and position above your ornament buttons. Once you have a fixed idea put two pop dots to the back of your tag and adhere it to the pattern paper.
- Now center and place your pattern paper onto your brown cardstock.
Monica
0
Tags :

