Using My Scraps
Happy Saturday Everyone,
As much as I try I can’t seem to get a post in before Friday. It is now 1:52 am Saturday morning and I am still trying to hash out what am I going to post today. What I wanted to talk about is SCRAPS; I mean every crafter has a bundle of leftovers that we just don’t toss. But specifically, I wanted to talk about paper scraps. I looked at my bags/box of paper scraps and I said to myself “I got to put this stuff to good use otherwise it’s just collecting dust”. So I ruffled through it and picked some parts that might color coordinate.
what I did next, is get two stamps I didn’t want to spend hours making 10 different designs from 16 different stamps. Because we all do it we pull out all our stamps and by the end of it, you have more stamps than scraps.
So I kept it to the following materials to make two projects:
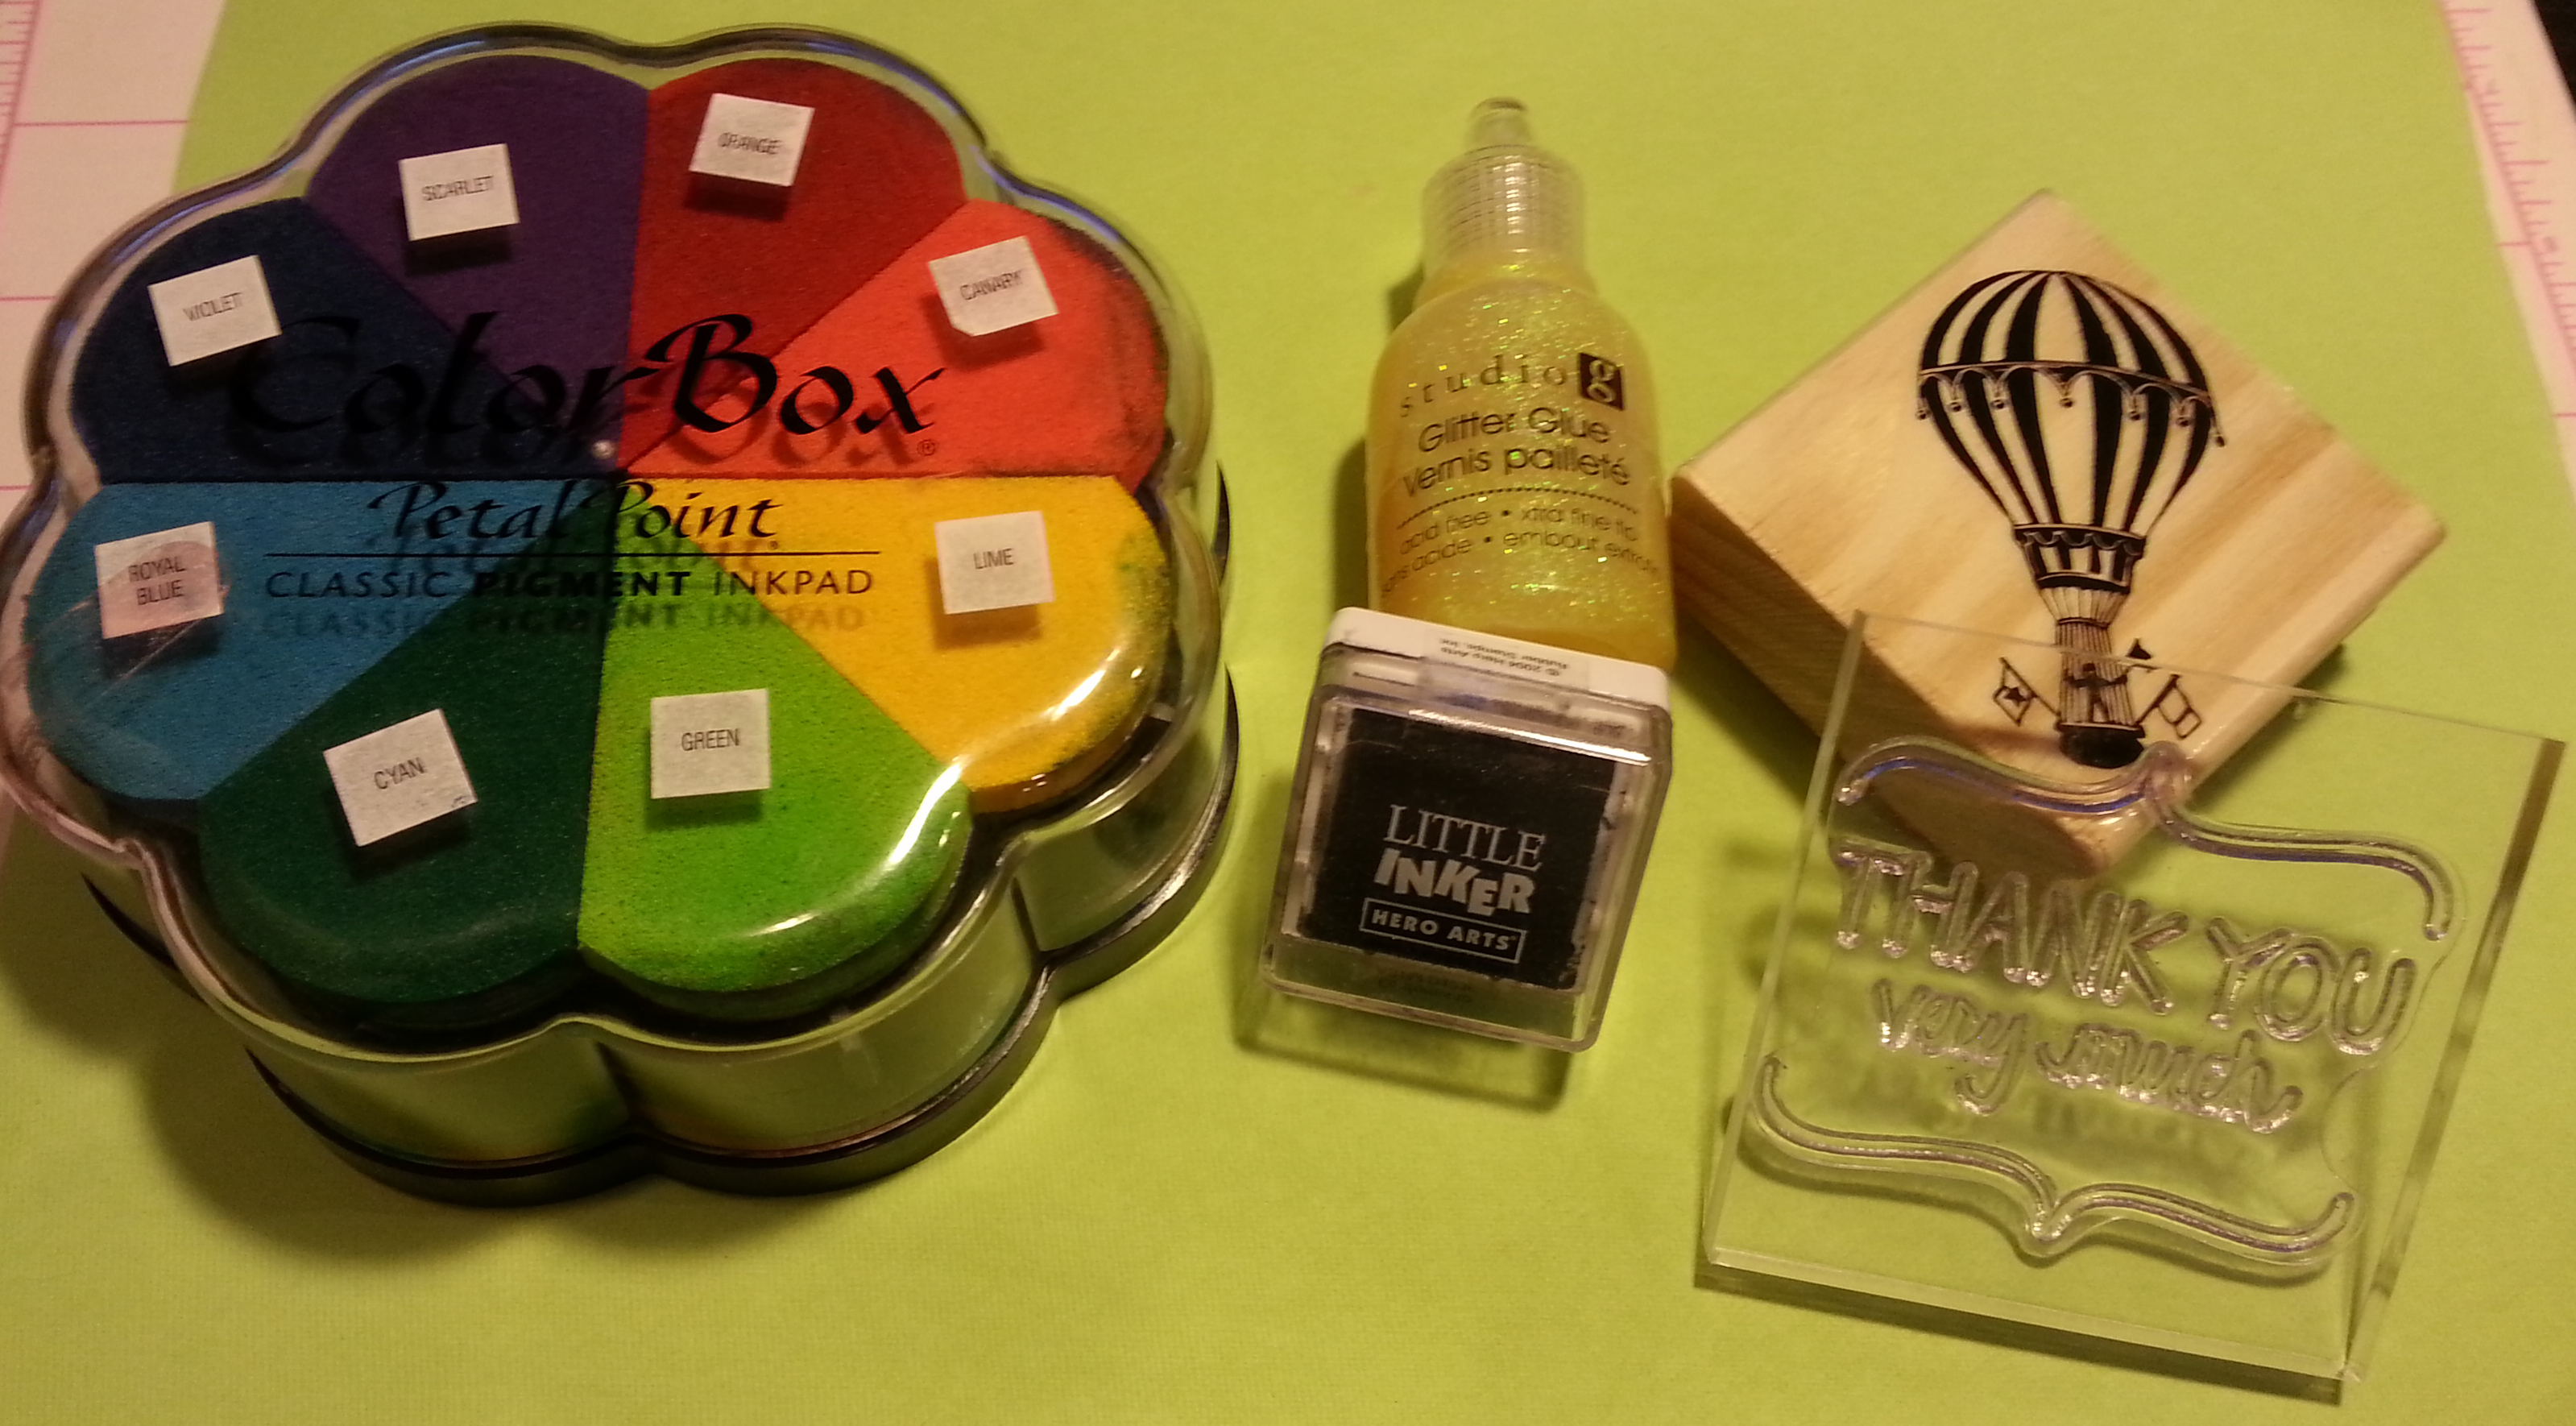
- Inks – Scarlet & Lime from Color Box, Black Little Inkers from Hero Arts
- Studio G – Yellow Glitter Glue
- Stamps – Hot Air Balloon & Thank You very Much from Studio G
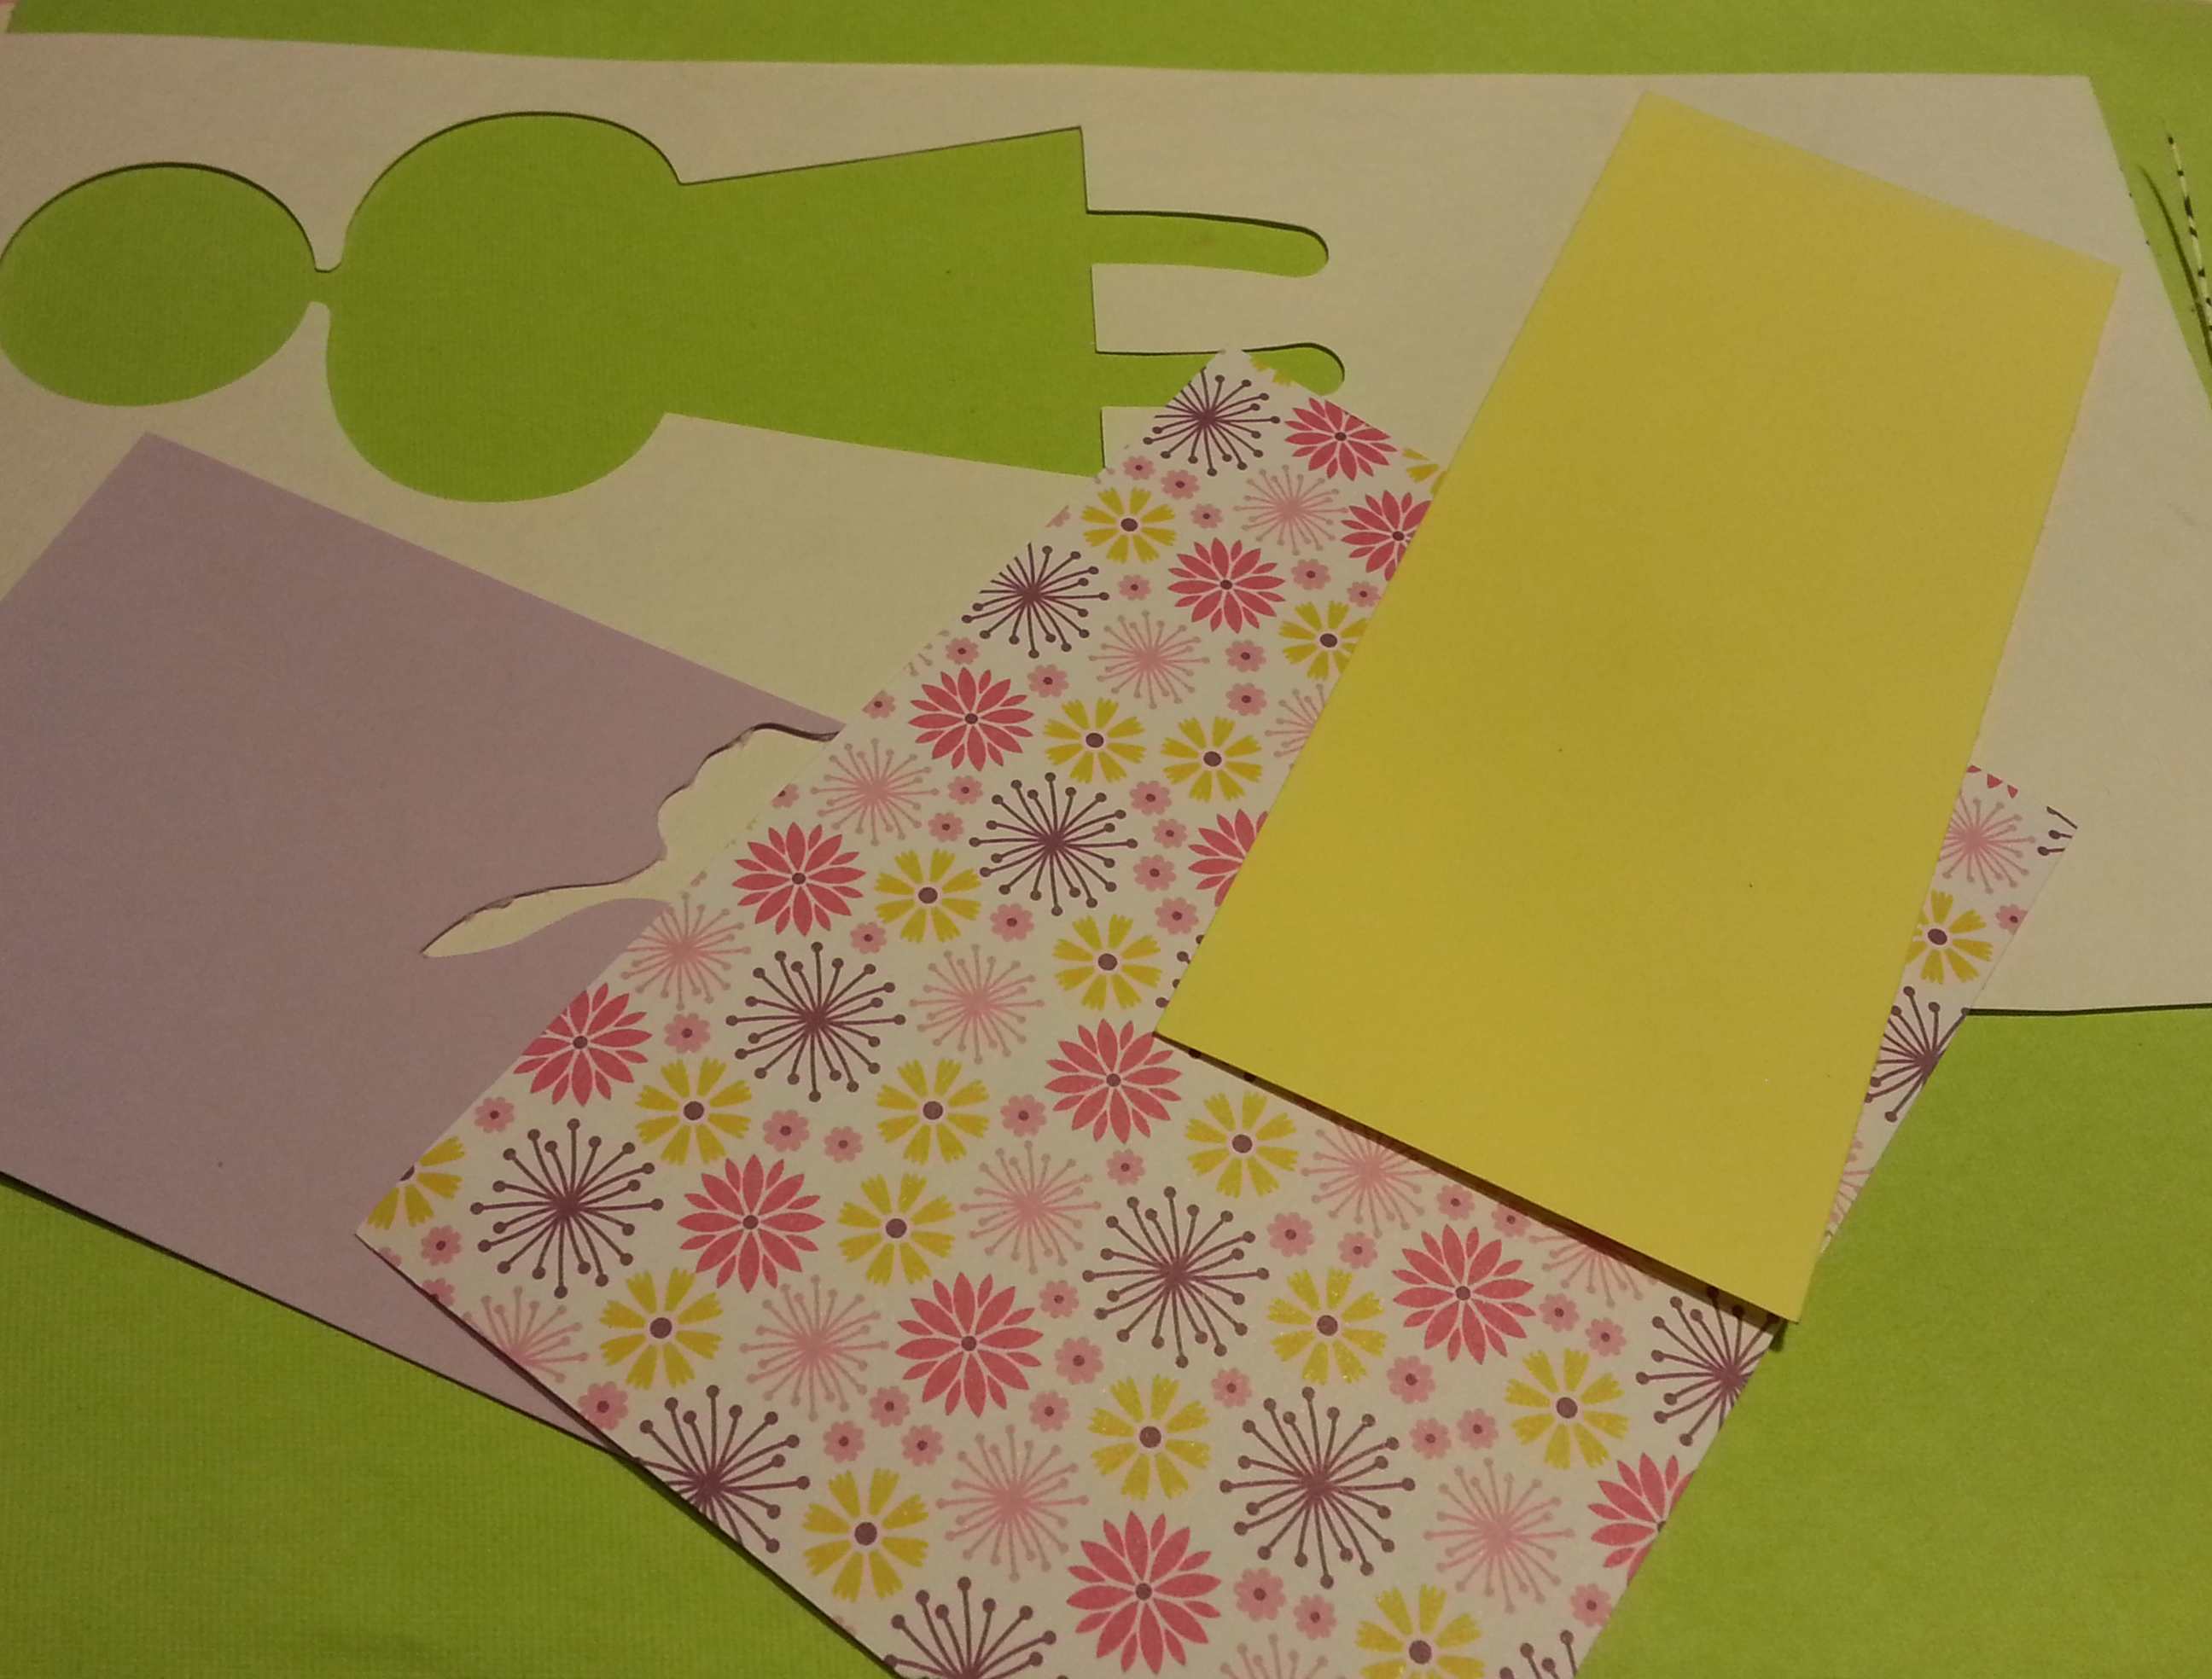
- Paper Scraps
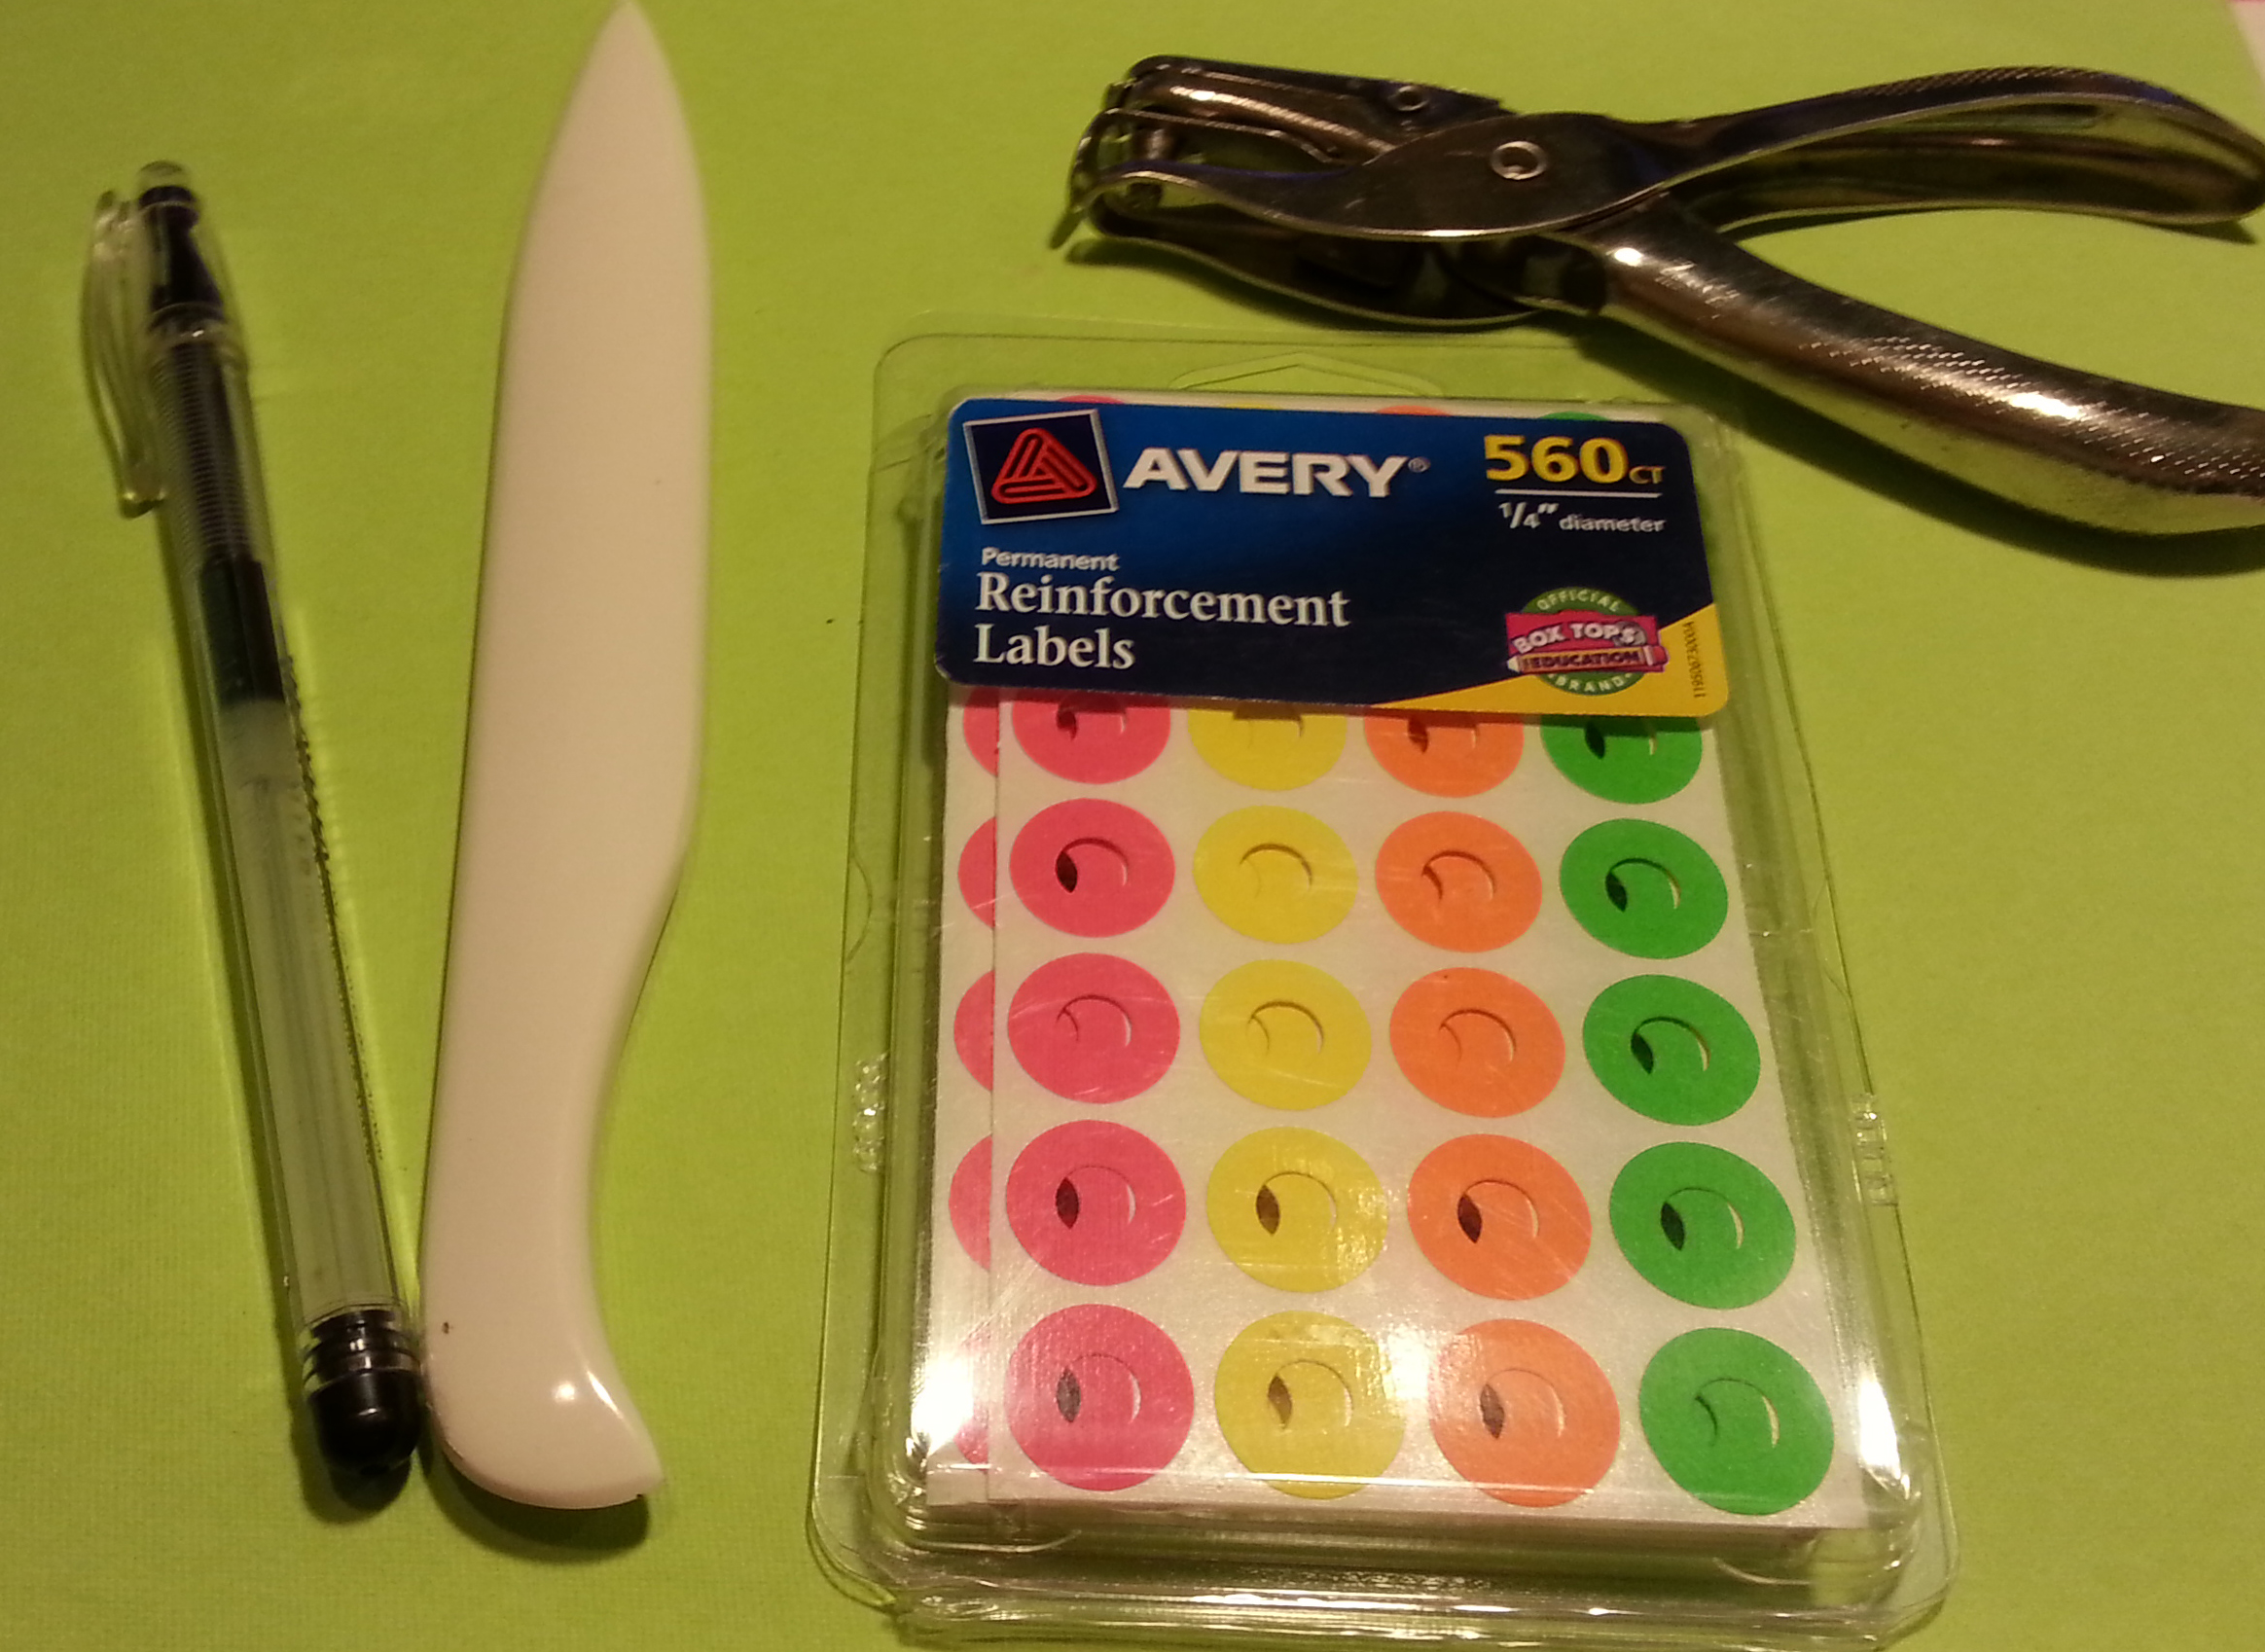
- Bone Folder
- Pen or pencil (just something you can mark with)
- Single Hole Punch
- Avery 560 Reinforcement Labels
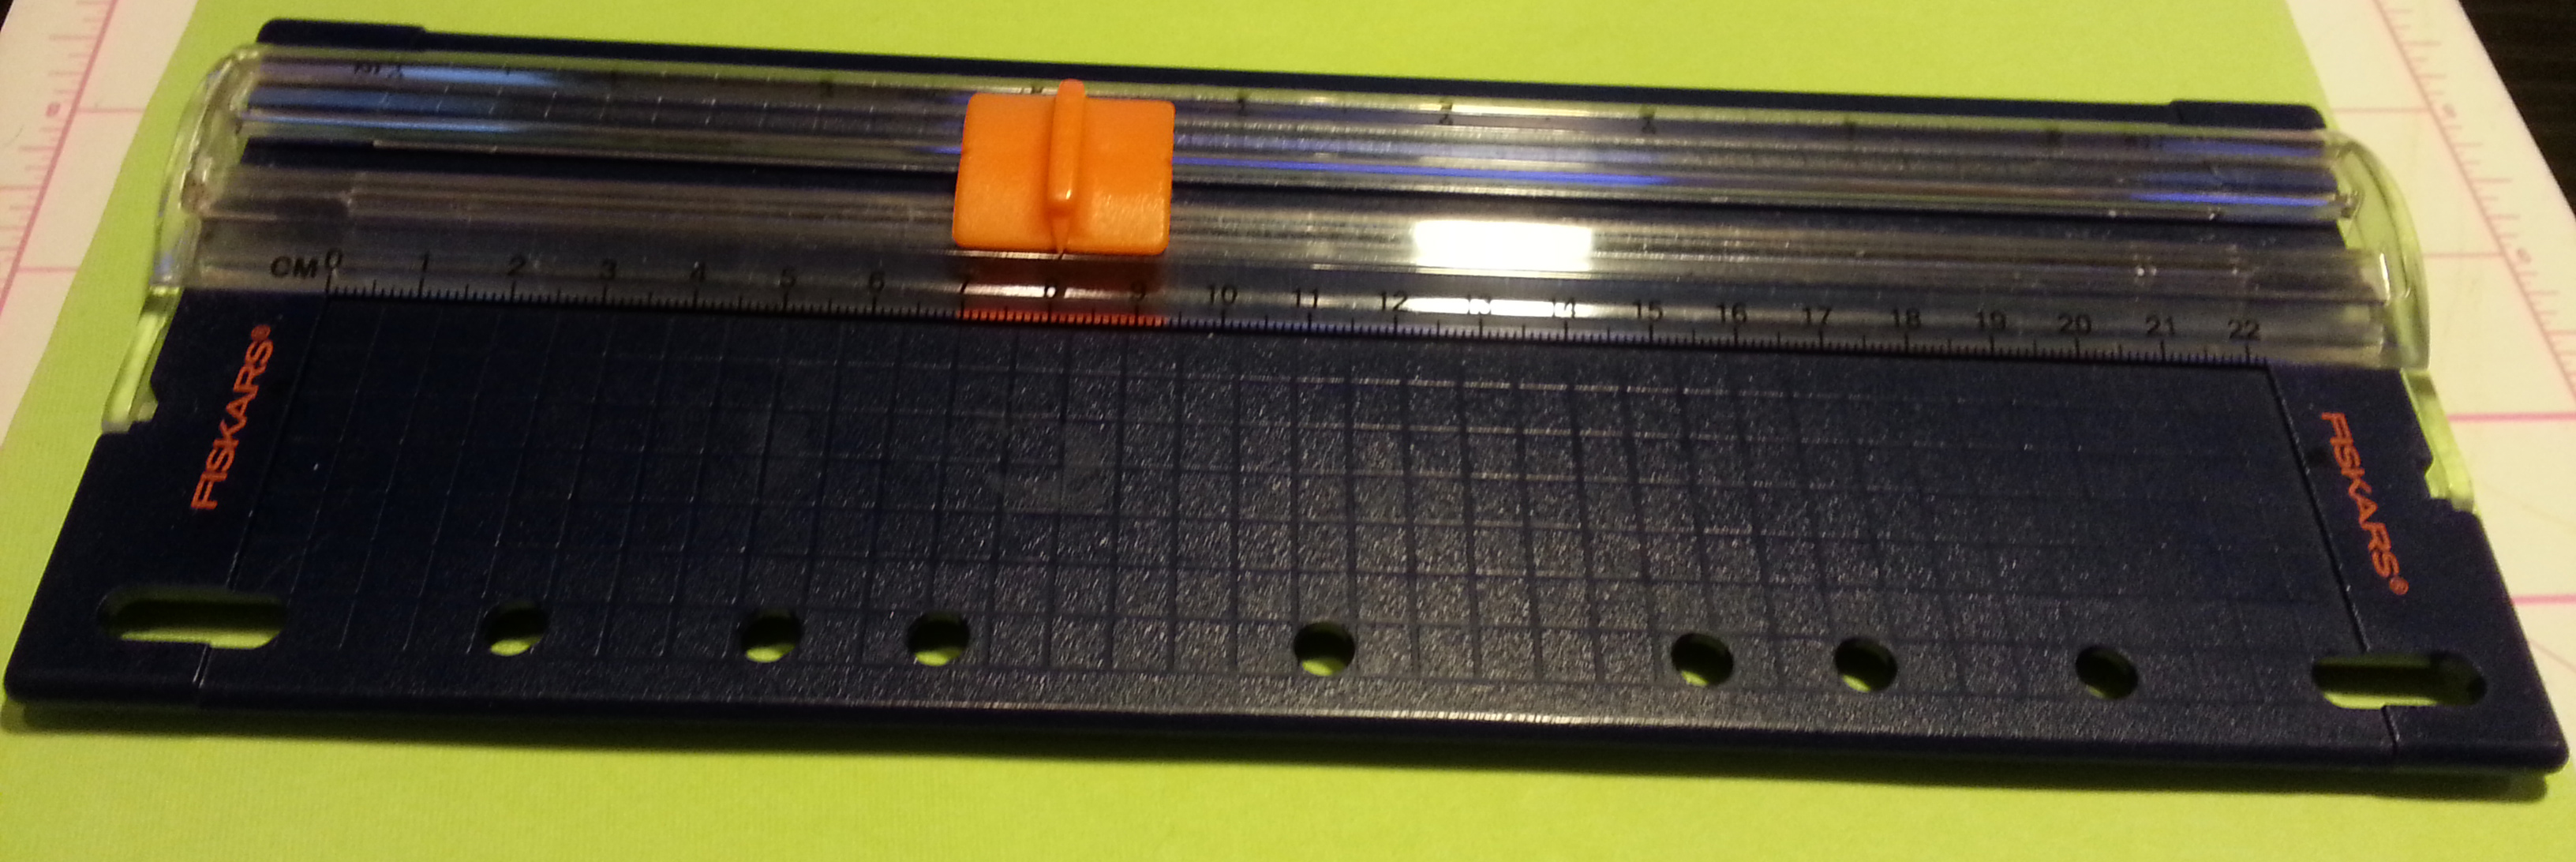
- Friskers 6’ Cutting Protector
The first project I made was a small “Thank You Card”. I mean when do you not need a thank you card? Anyway, I used my white scrap paper and started stamping the yellow and scarlet patterns of the hot air balloon stamp. Since the hot air balloon is not a clear cling stamp I had a bit of trouble keeping it straight. But it really didn’t matter since I was going to trim what I didn’t want. But a good tip is using a ruler or a thing-a-magi which I didn’t have on hand. I just kind of wing it.
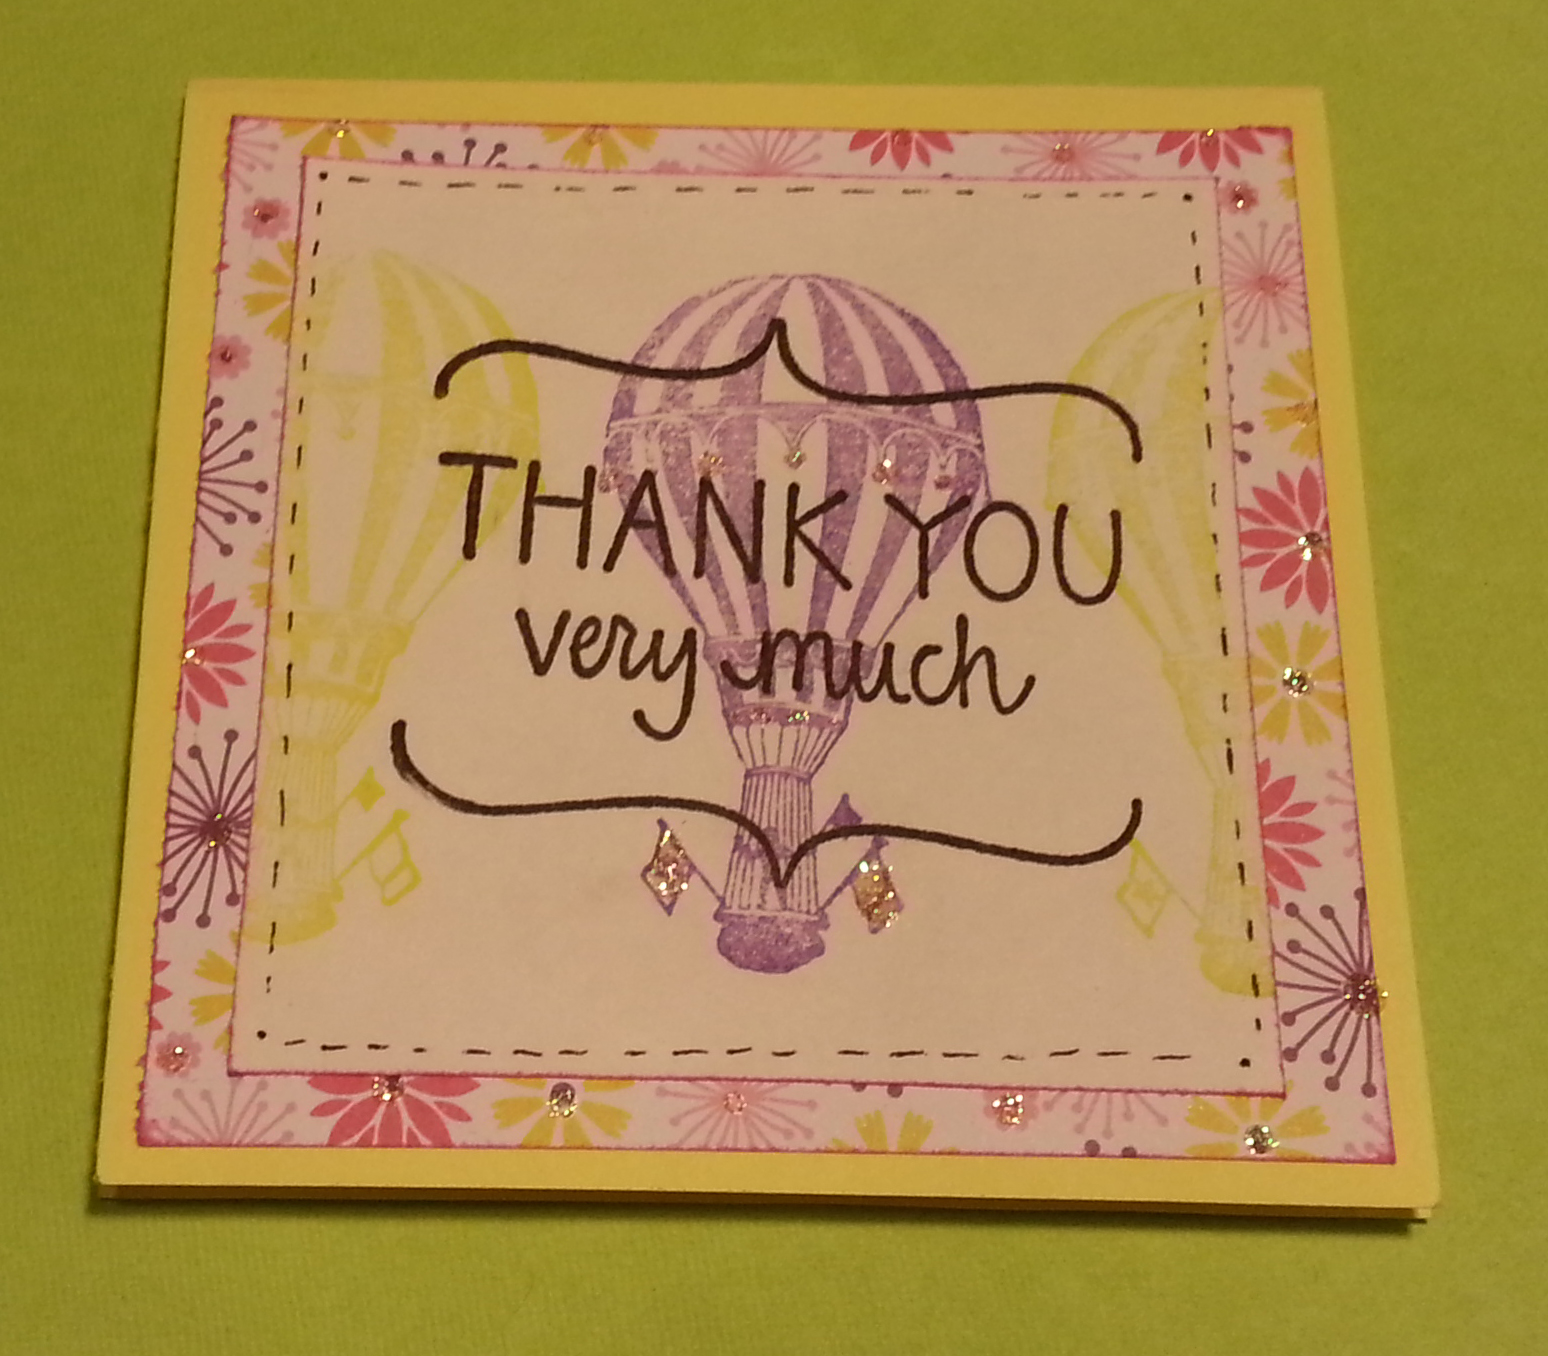
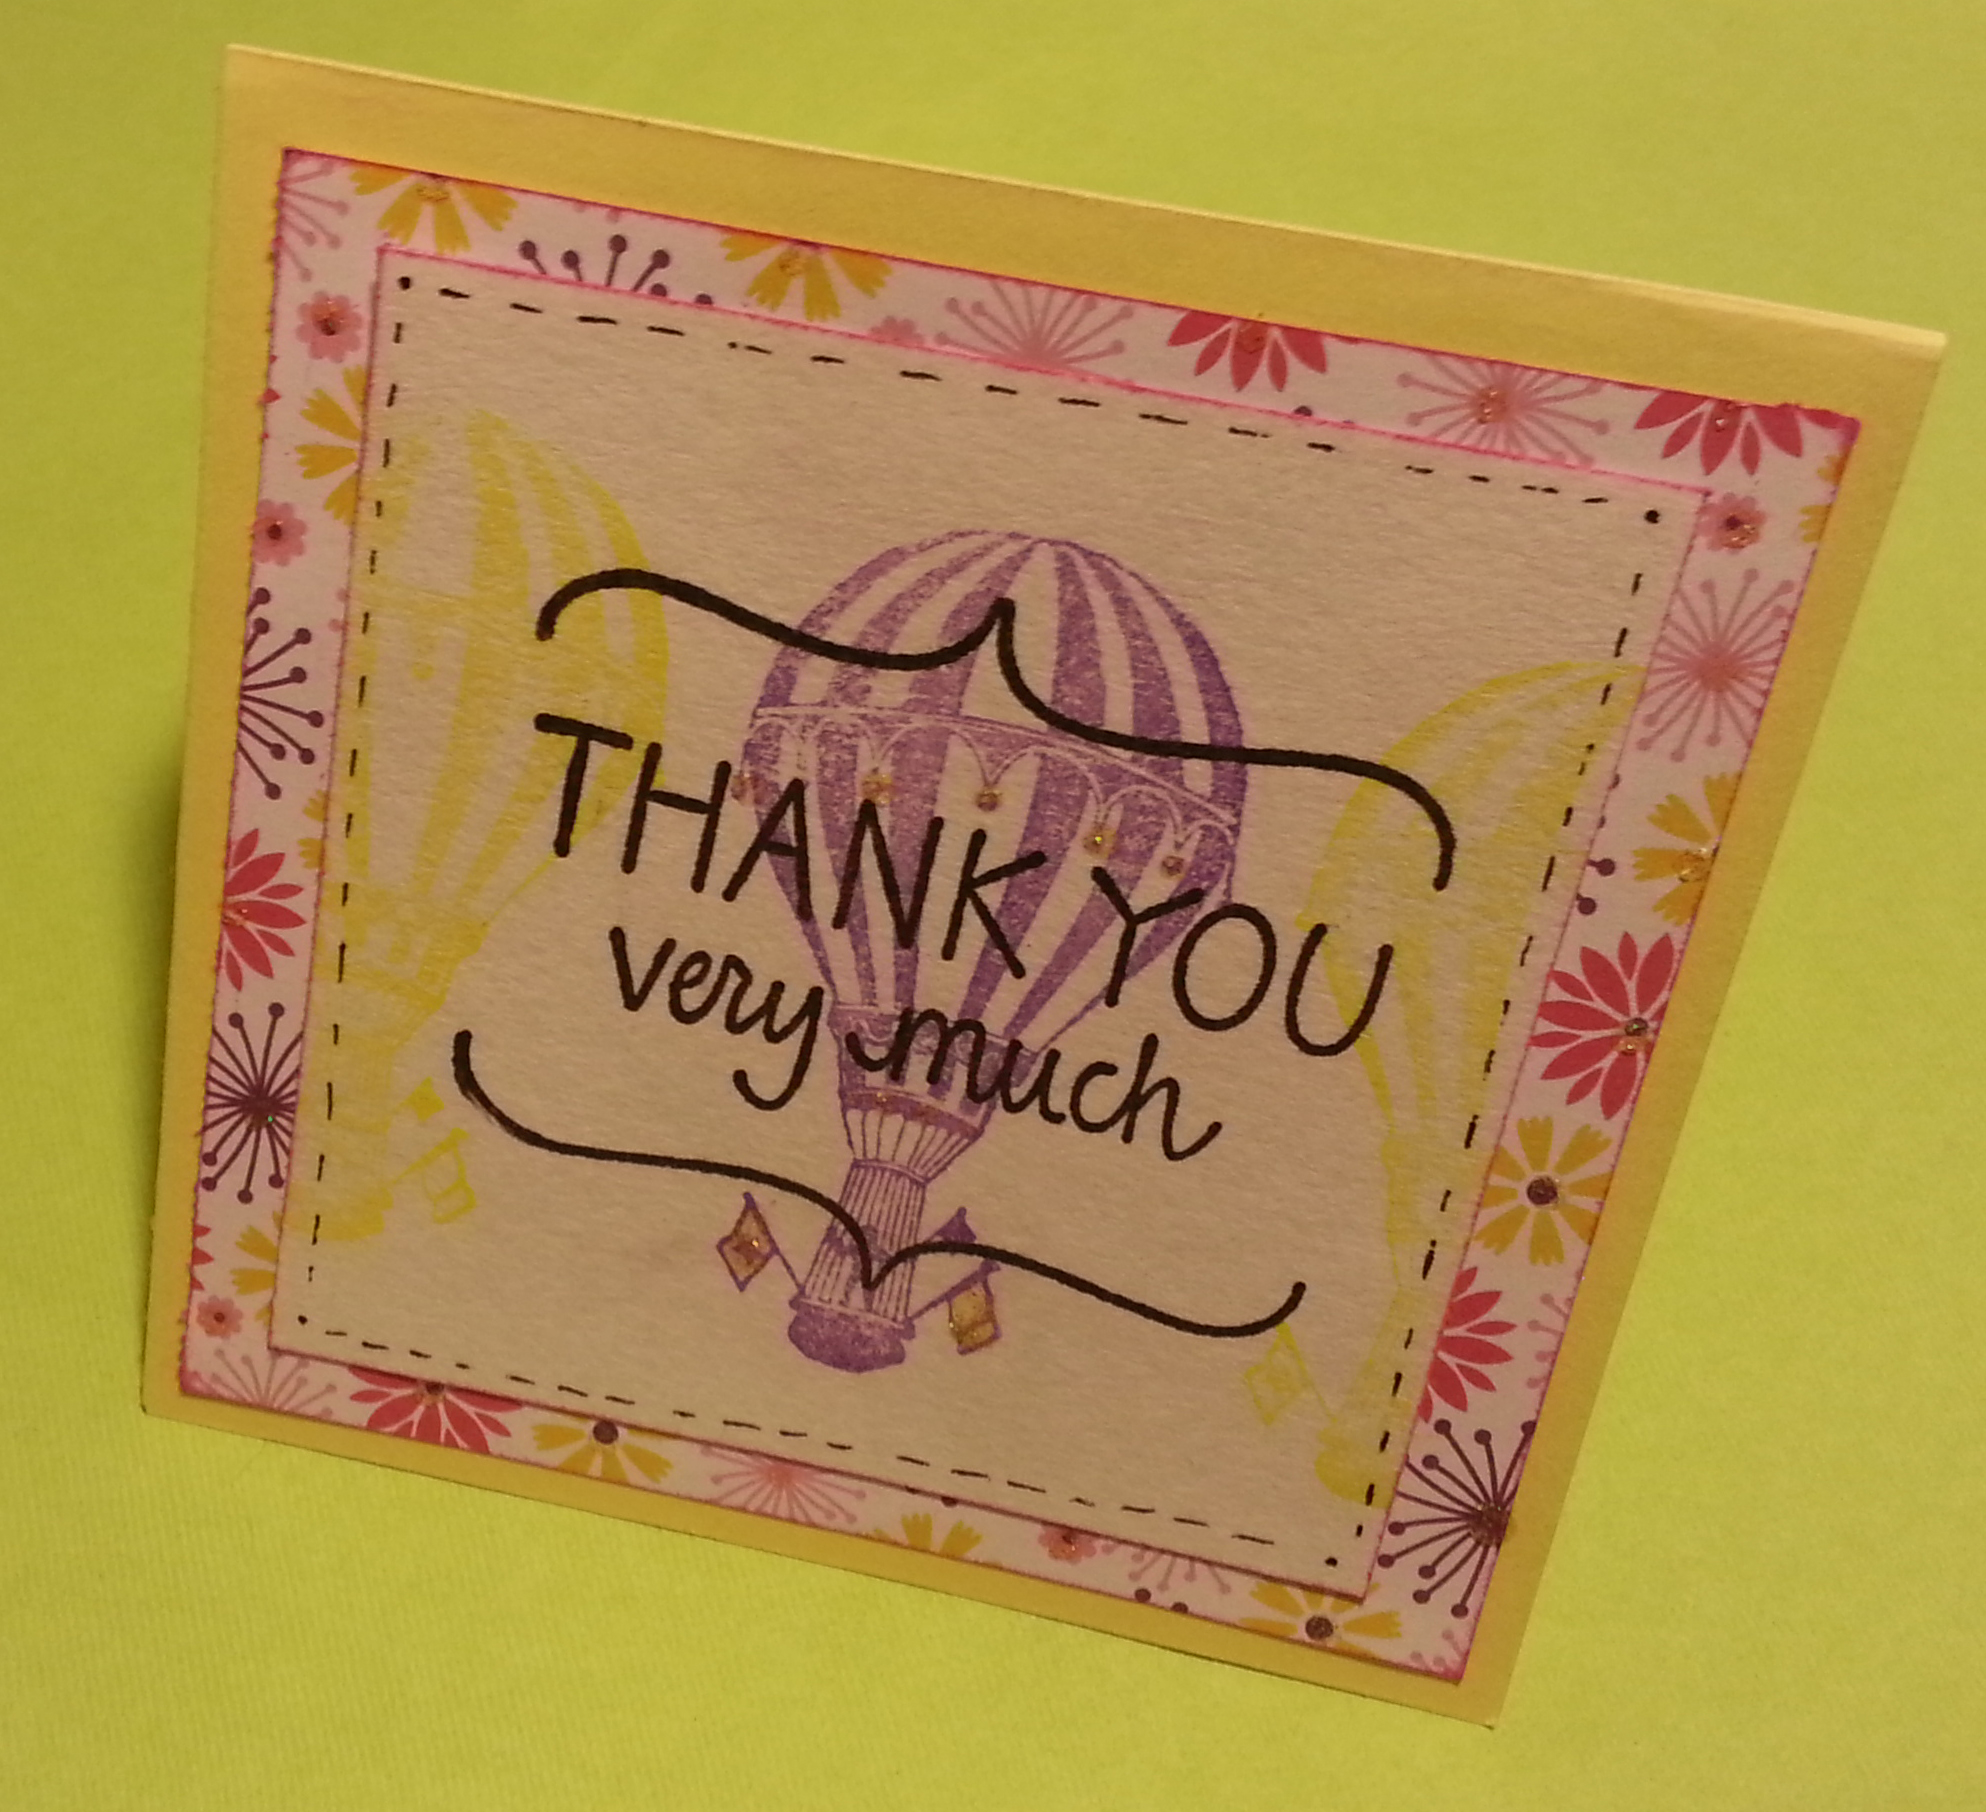
Once I was satisfied I chose a pattern that didn’t have as many mistakes and cut it into a 3 x 3 card stock. Then I found a larger enough scrap and eyeballed it, it roughly came out to be 3 ½ x 3 ½ card stock. I grabbed my color box inks and hit the edges with a bit of scarlet on the edges to make the edges pop a little bit. The next step was a little harder since I didn’t have a lot of white I grabbed a coordinating yellow that matched the flower pattern and the yellow stamping. Overall I was able to muster up an 8 x 4 ½ card to place the pattern paper and the stamped image.
Now originally I was going to leave the front blank but after I did a test strip of the greeting over the hot air balloon I really liked the outcome. I inked the greeting with my Hero Arts – Black and went to town. I then grabbed my black pen and did some foe stitching and stood back, thinking I was done I set it aside when I noticed out of the corner of my eye the glitter. How could I say no to the glitter! I started dabbing like a madwoman on each of the flowers then I put a dab on the actual stamp. I just wanted to highlight some of the key points.
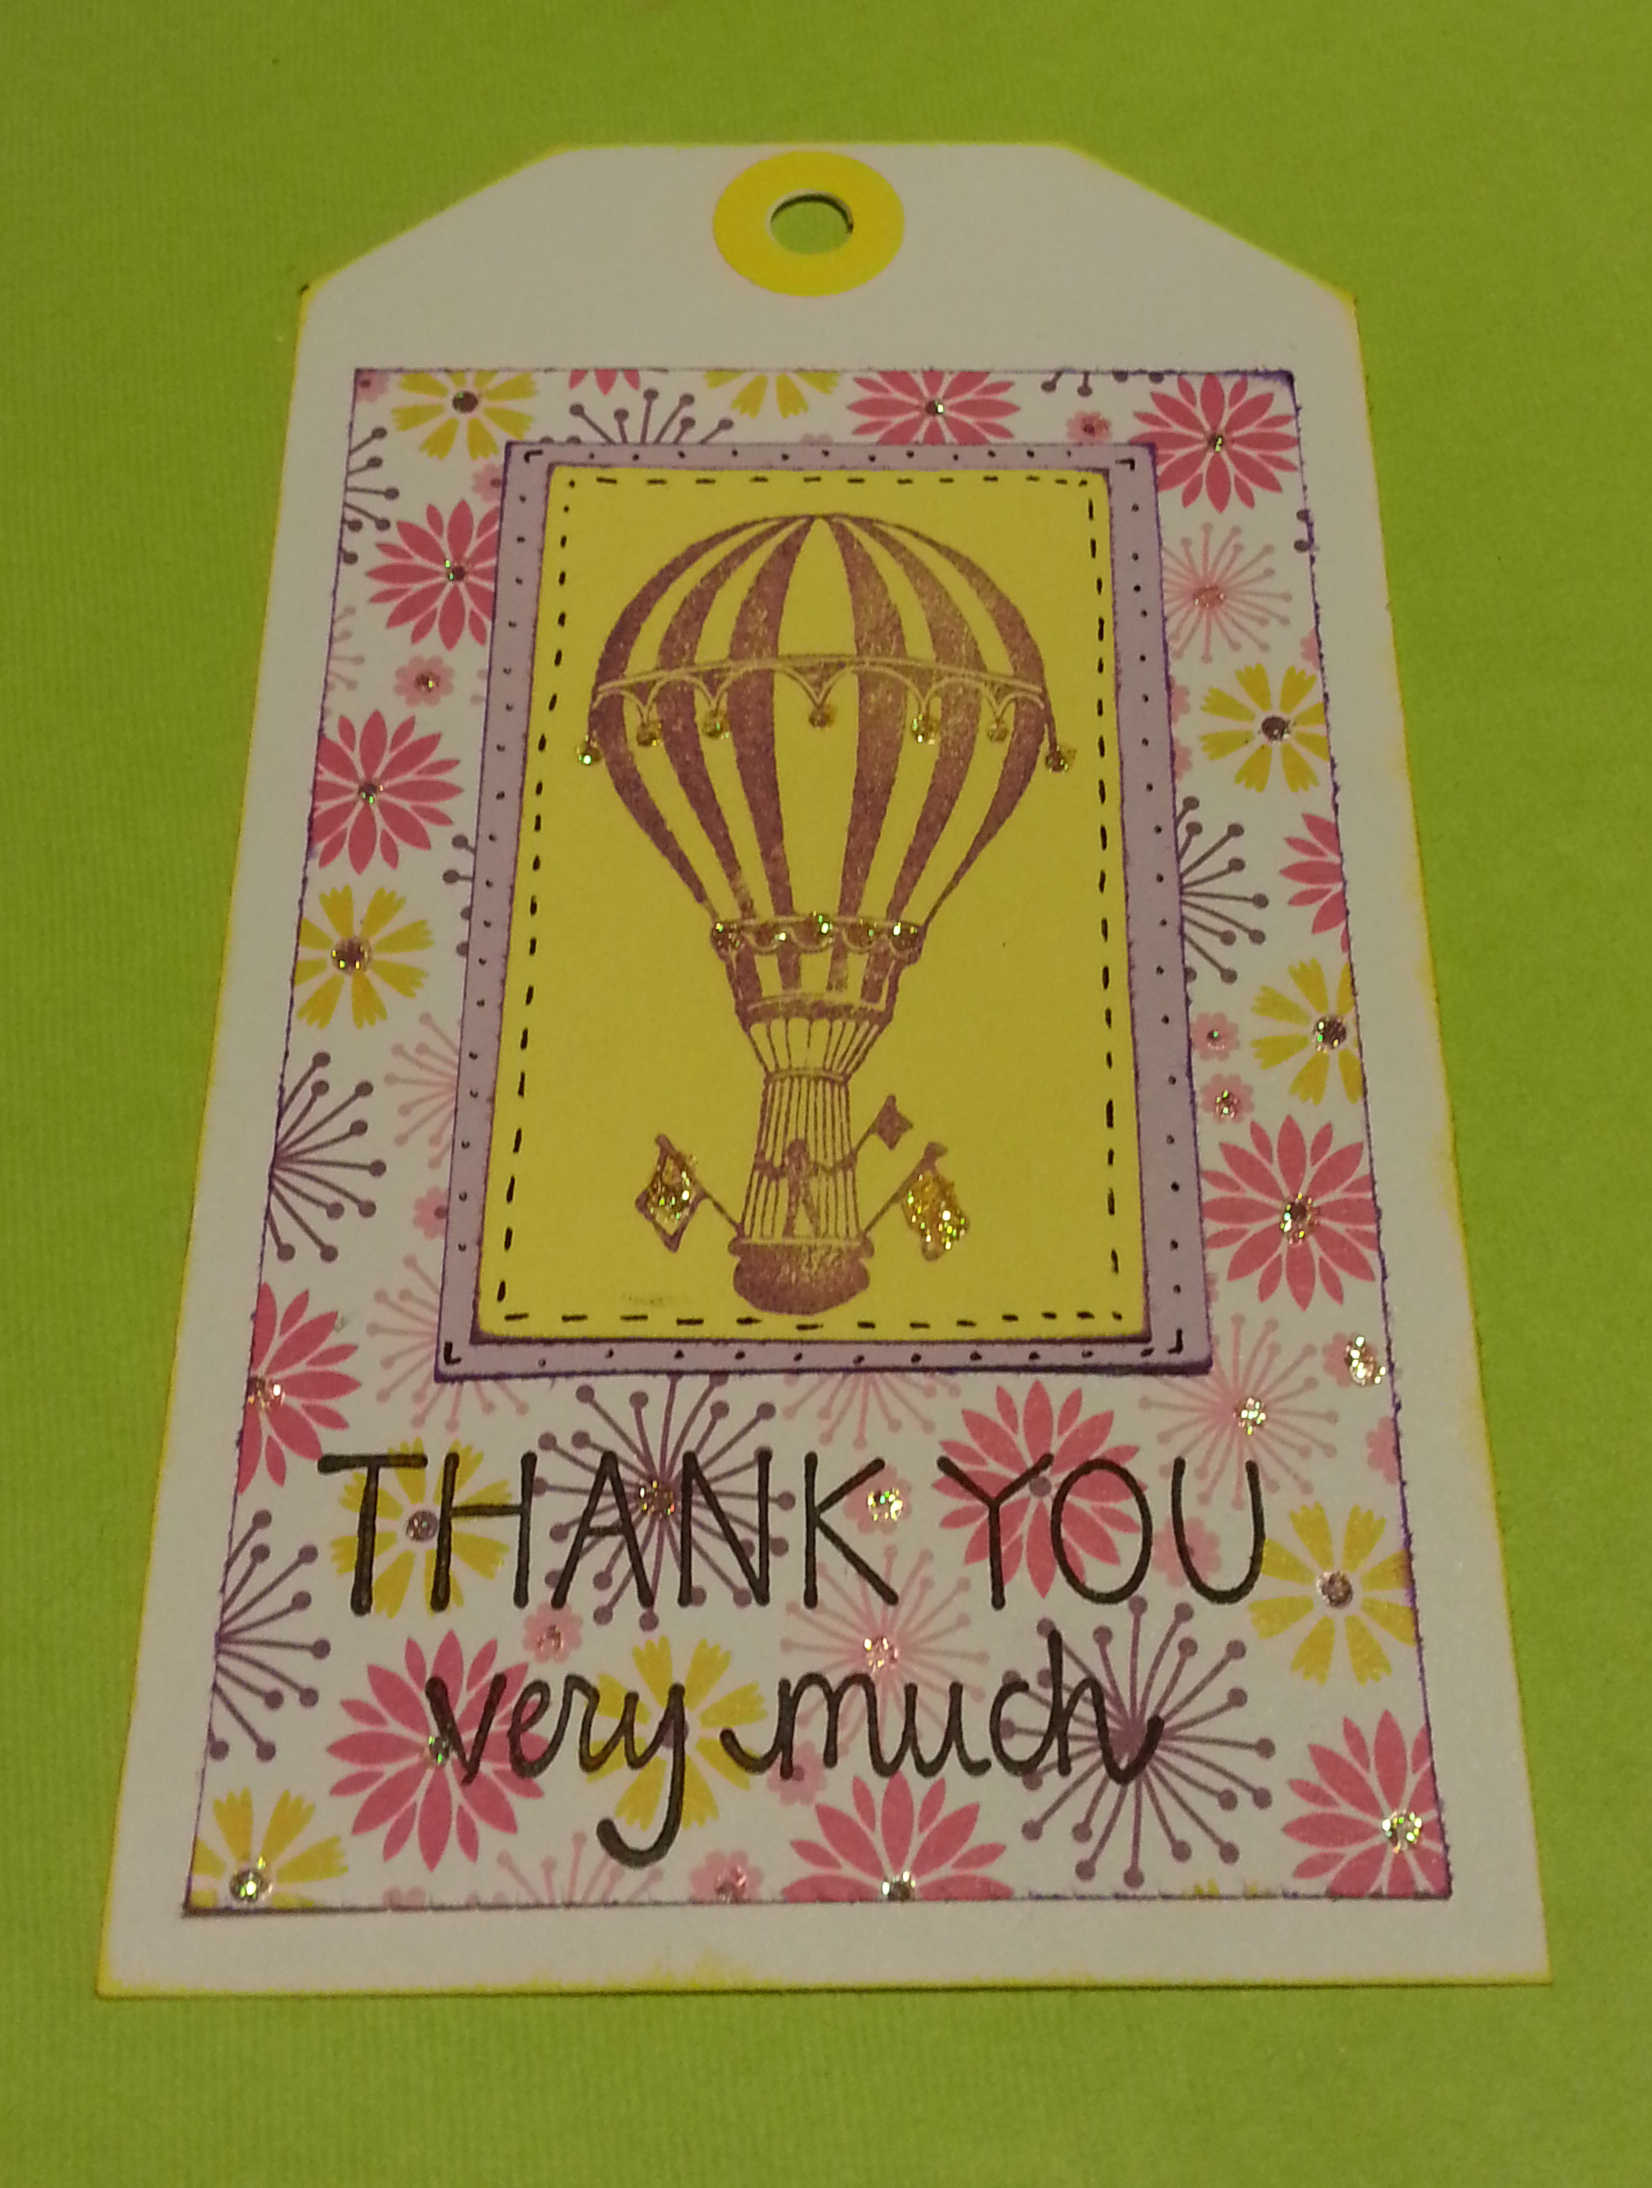
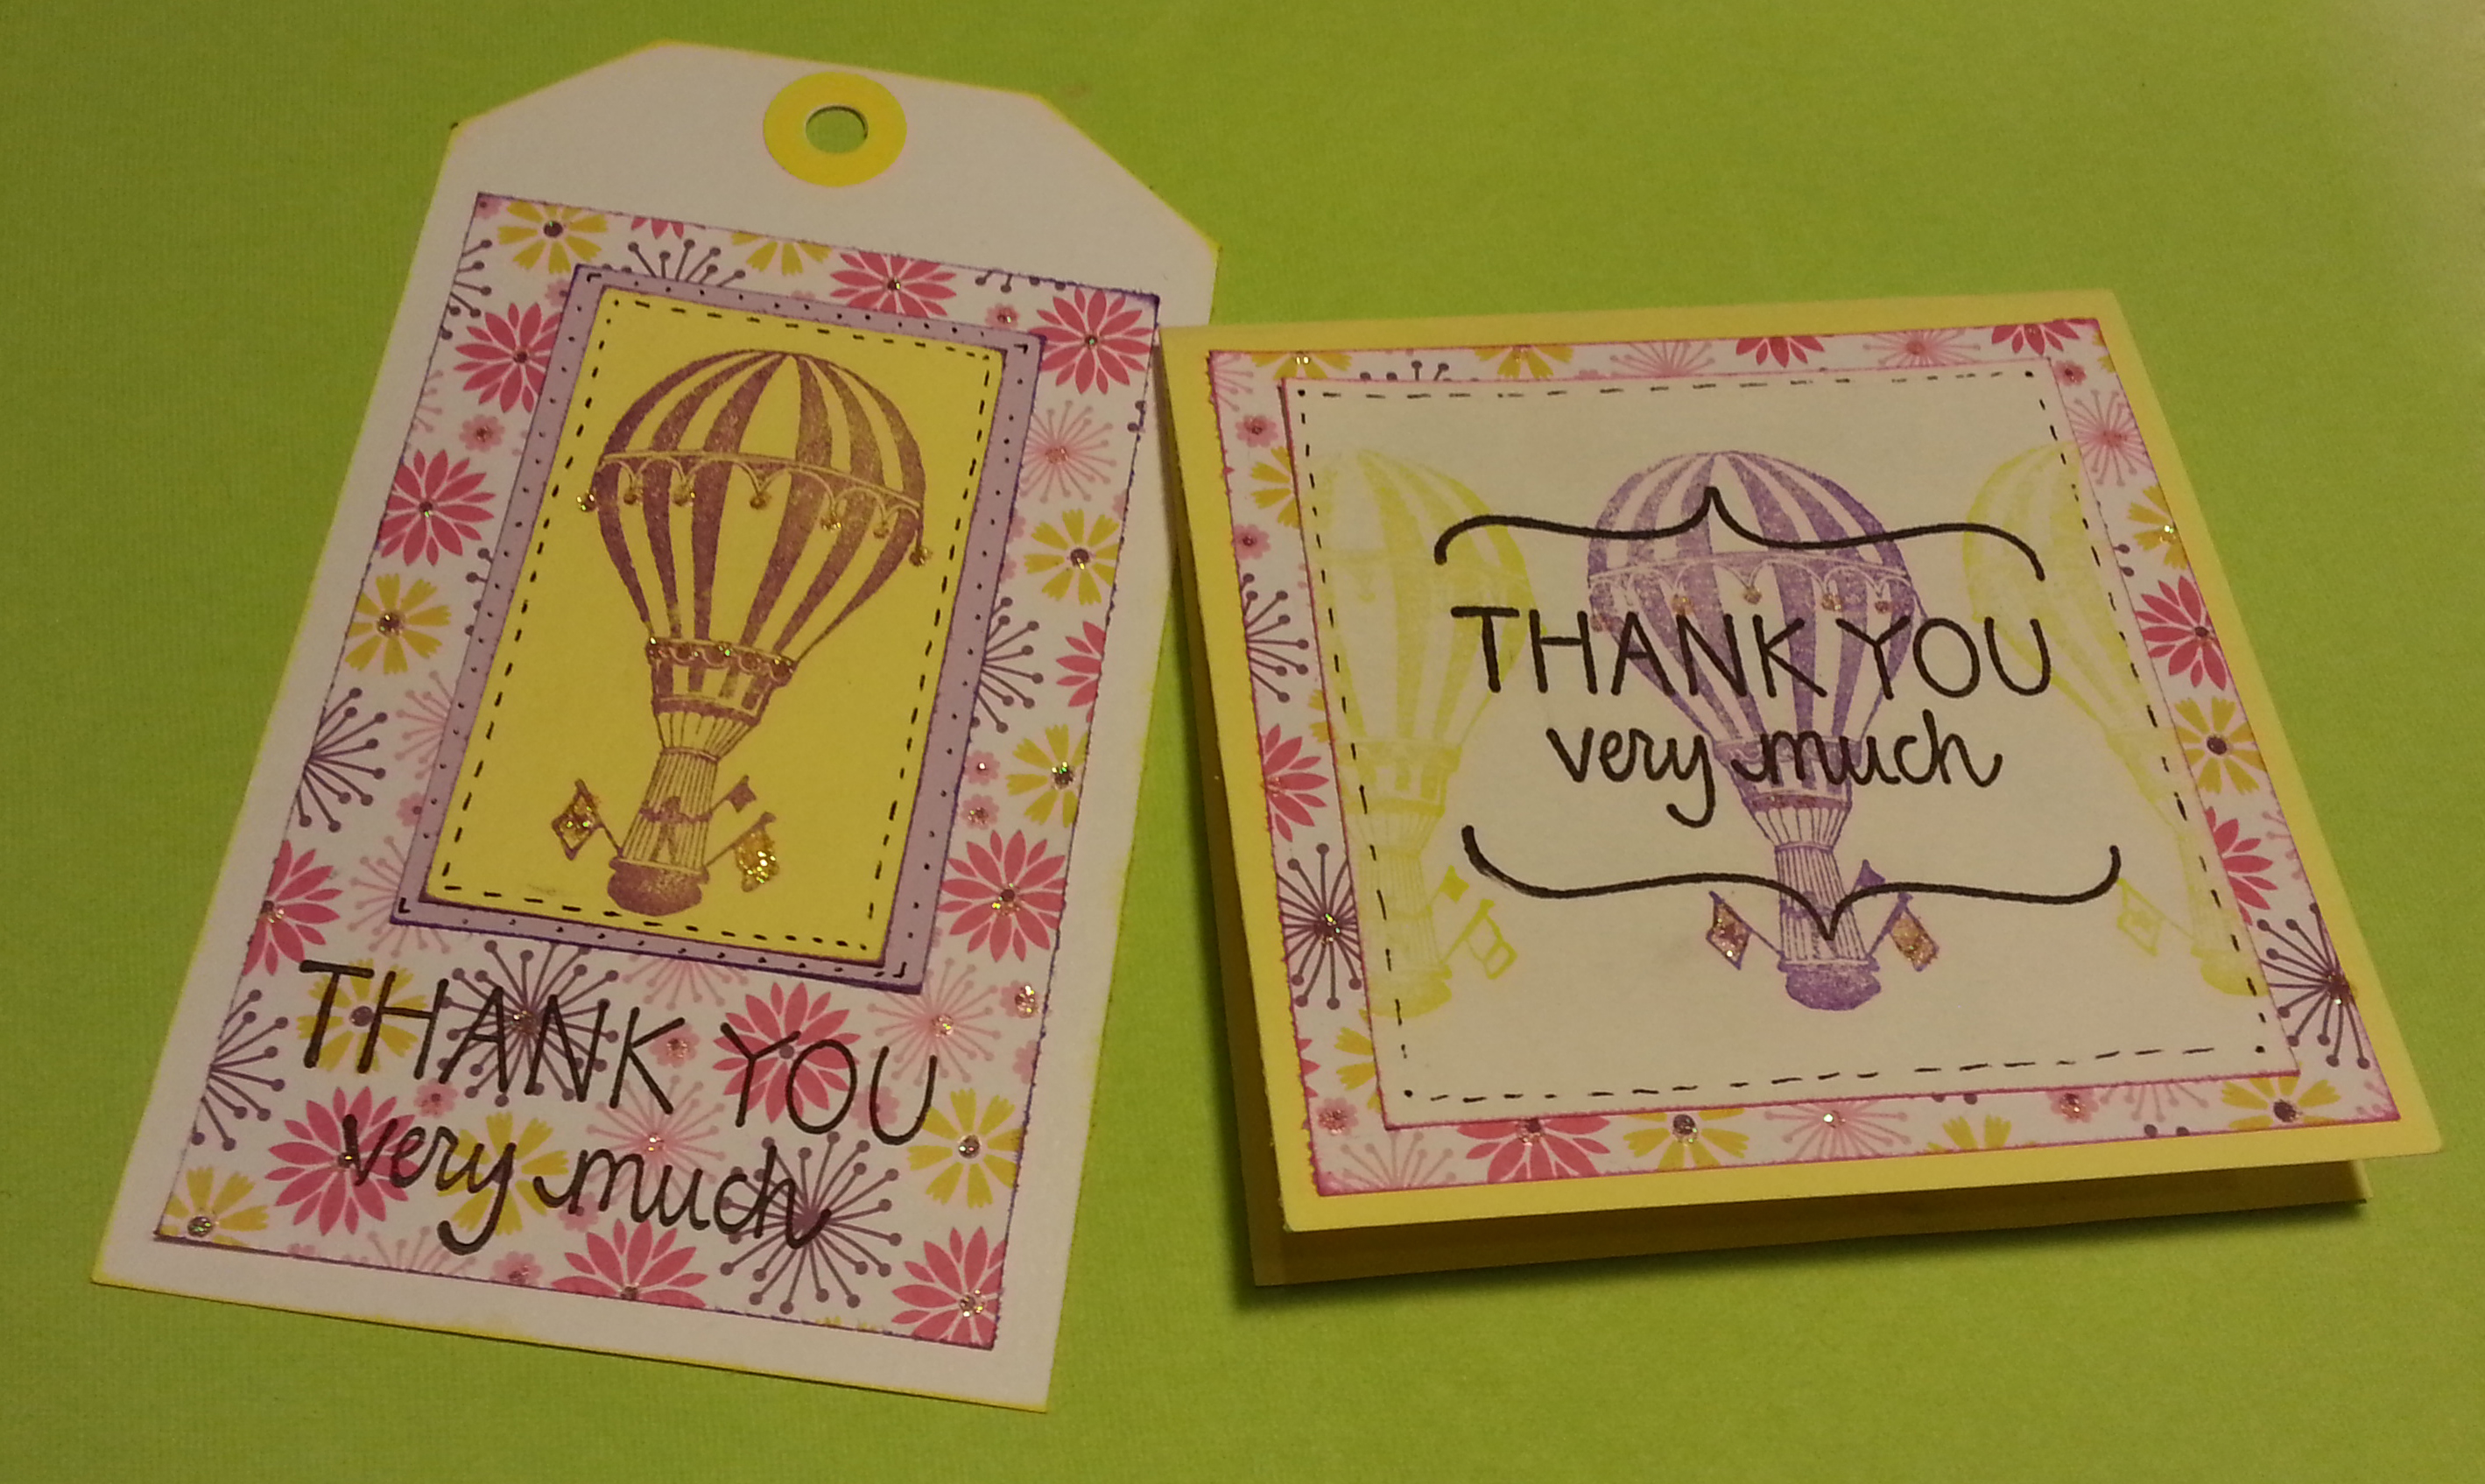
I double-checked my scraps to see if I could do more cards but sadly I only had enough to make a tag. This was kind of a bummer but I was determined to still make something else similar to what I had. What I came up with was a 5 x 3 tag that would still make a great thank you card.